Agenda makes two documents to print: the formato de cita (appointment slip), a page with one appointment’s details to hand to the patient, and the agenda en PDF (agenda as a PDF), with the appointments of one or several days for the team.
Before you start
- Every Agenda role can print the appointment slip and download the agenda as a PDF.
- The PDF is downloaded from a computer or tablet: on a phone the PDF button doesn’t appear.
Print the appointment slip
The appointment slip is a letter-size page with your organization’s header, the patient’s details (name, document, age, phone, payer), the service, the professional, the date, the time and the site, and the service’s instructions. For example, the patient takes it to the pharmacy or shows it on arrival.
-
Open the appointment: click it on the Agenda or in the patient’s record.
-
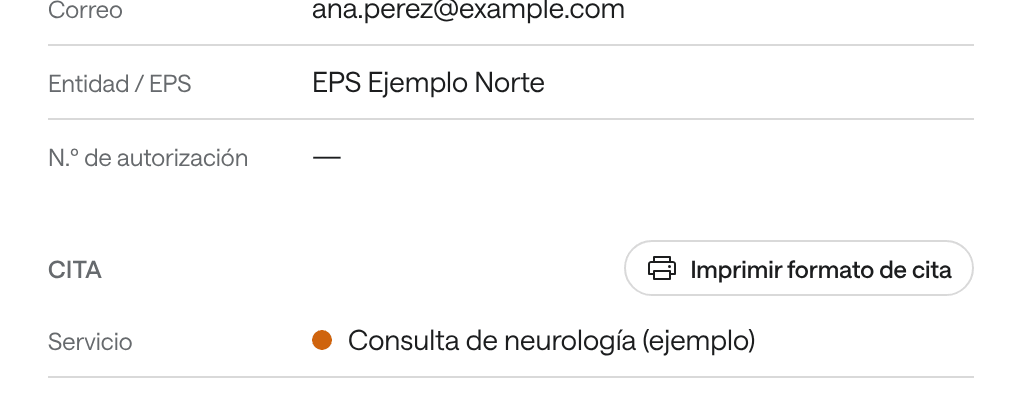
In the panel, in the Cita section, click Imprimir formato de cita (print appointment slip).
-
The slip opens in a new tab. Print it from the browser, with Ctrl+P.
If the service has Formato de cita para imprimir (printable appointment slip) turned on, the button also appears right after you save the appointment, so you can print it in one click, and the slip is attached to the patient’s confirmation email.
If the browser blocks the new tab, the slip downloads as a PDF.
Download or print the agenda as a PDF
-
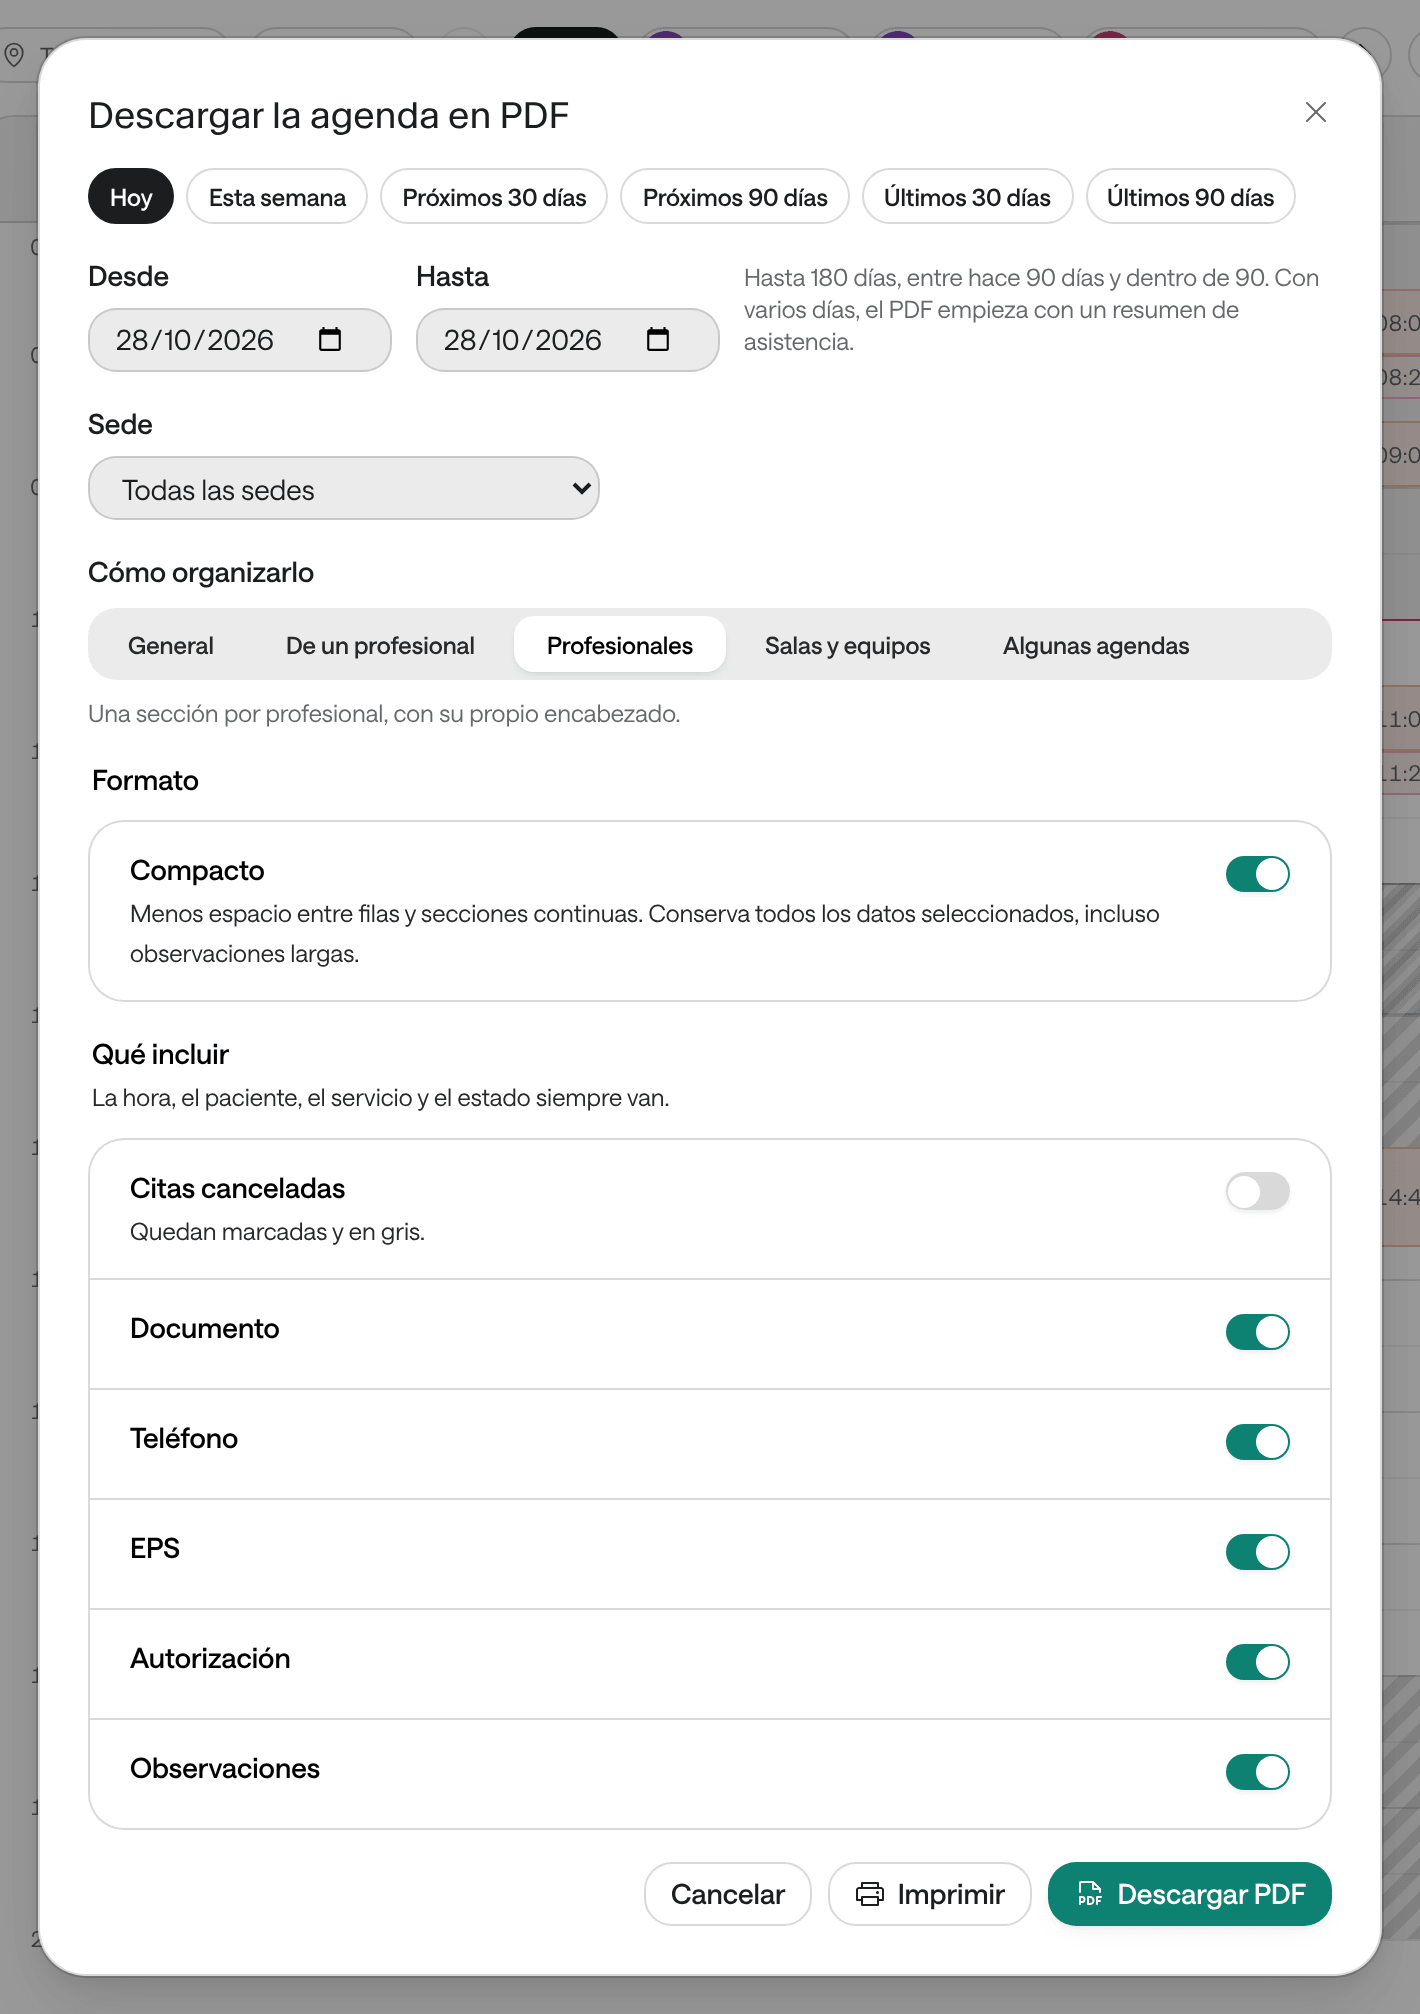
On the Agenda, click PDF in the toolbar.
-
Pick the dates: Hoy (today), Esta semana (this week), Próximos 30 días (next 30 days) or another quick option, or type Desde and Hasta. If your organization has several sites, pick the Sede.
-
Under Cómo organizarlo (how to organize it), choose:
- General: all appointments in one list, in time order.
- Profesionales: one section per professional.
- Salas y equipos: one section per room or piece of equipment.
- De un profesional: all of one professional’s appointments, with each one’s room.
- Algunas agendas: only the ones you pick, each on its own page.
-
Under Formato, turn on Compacto (compact) if you want less space between rows.
-
Under Qué incluir (what to include), choose the columns: Documento, Teléfono, Autorización, Observaciones, your organization’s own fields, and whether to include Citas canceladas (cancelled appointments). The time, the patient, the service and the status are always included.
-
Click Descargar PDF (download PDF), or Imprimir (print) to send it straight to the printer.
Overbookings are marked in the PDF, and cancelled appointments, if you include them, are greyed out.
Common problems
You don’t see Imprimir formato de cita when saving an appointment. It only appears on saving if the service has Formato de cita para imprimir turned on. You can always print it from the appointment’s panel.
It says «Son demasiadas citas para un solo PDF» (too many appointments for one PDF). Pick fewer days, one site or one professional.
The slip is missing some detail. The slip only prints what Agenda has: if the patient’s date of birth or address is missing, complete it in their record (see Update a patient’s record).